Create basic LightBox.
Step 1.
Select a range of text or place the cursor into a position on page where you want an image-target or a text link to be inserted. Start the CSSMenuTools LightBox Advancer plug-in by clicking the LightBox Advancer icon in the CSSMenuTools group at the Insert panel.
Step 2.
Press ![]() button to add new item. If you have already selected the text before plug-in launch, the item will be added automatically.
button to add new item. If you have already selected the text before plug-in launch, the item will be added automatically.
Step 3.
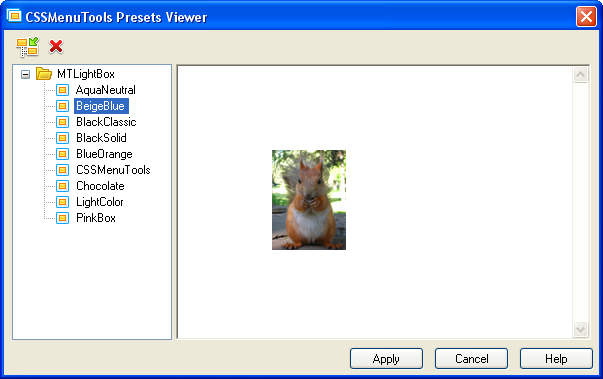
You can use default LightBox style or press ![]() button in the Tool Bar to open CSSMenuTools Preset Viewer to create a template based LightBox.
button in the Tool Bar to open CSSMenuTools Preset Viewer to create a template based LightBox.
Select the desired preset. You can change this design or apply a different preset to your LightBox later if necessary.

Press Apply button.
Thereby you define the LightBox window style.
Step 4.
Now you need to define the item type and create a list of files for the gallery. In the Item tab panel you need to fill up the Target, List of Images and Image Title fields. In Target field you can paste either usual text or <img> tag. If you have selected a text before plug-in launch, the text will already be in the Target field. Image tag code will be created automatically, if you use Select Thumbnail or Create Thumbnail button and chose the necessary image.
Now you need to add the image(s) into a list that will displayed in the LightBox.
Use ![]() button to add the image located on your disks or use
button to add the image located on your disks or use ![]() button to add the image located on the Web.
button to add the image located on the Web.
Image Title field should be filled up for each image in the list.
Step 5.
In the General tab set JS file name if necessary.
NOTE: Default path for JS file will be /cssmenutools/scripts/MTLB1.js
CSS file will be saved into the same folder.
You can change location of files in any time.
Step 6.
Your can check the results in the Live Preview window.
Press Save & Close button.
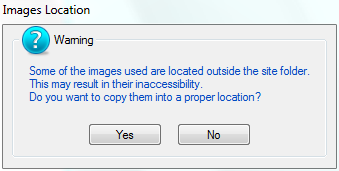
Images used in presets are located outside the site folder. So Images Location warning message will appear.

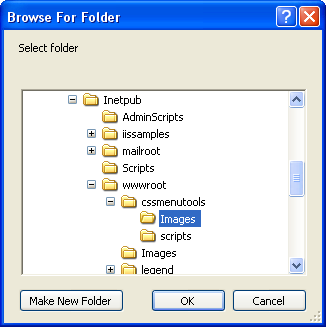
Press Yes button then select/create folder within the site and press OK button.

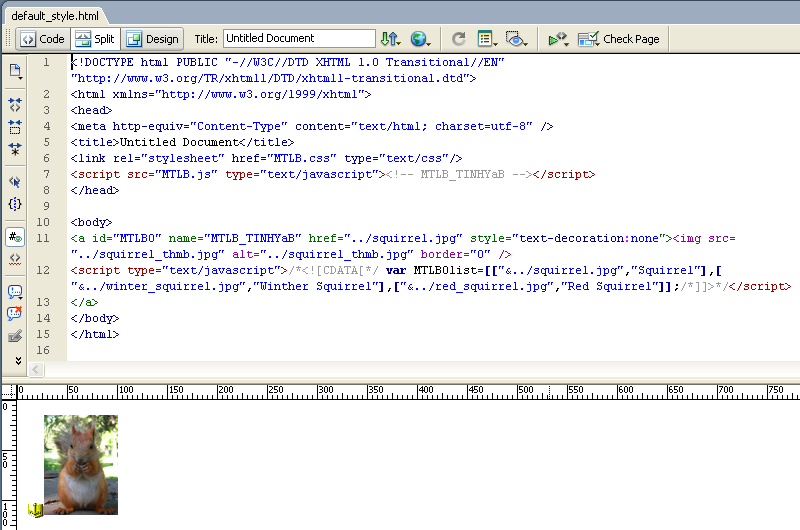
You will see an anchor of the item in the Code window of Dreamweaver and a WYSIWYG view of the item in the Design view.

Congratulations! The basic LighBox is ready.
Now we will add one more item on this page.
Perform Step 1 and 2 of the previous tutorial.
Skip Step 3 as lightbox style is already loaded.
Perform Step 4 and 6 then save the document.
Now we’ll add lightbox to other document (page within this site).
Open the necessary document.
Perform step 1 and 2 of previous tutorial.
The recently saved script will be used.
Perform step 4 and step 6.
After that you can add the next items on page.
Repeat for all pages on your website where the lightbox will be inserted.
As you noticed, the style of the lightbox we’ve created once and used that on all the pages. If you want to change the window style or upgrade the lightbox code to new version, please open any page containing the lightbox, run the plug-in and make any necessary changes. Save these changes by pressing the Save & Close button. All changes will be applied on all pages of your site.