ToolTips Advancer Quick Start Guide
Create the first ToolTips.
Step 1.
Select a range of text or place the cursor into a position on page where you want an image-target or a text to be inserted. Start the CSSMenuTools ToolTips Advancer plug-in by clicking the ToolTips Advancer icon ![]() in the CSSMenuTools toolbar.
in the CSSMenuTools toolbar.
Step 2.
Press ![]() button to add new item. If you have already selected the text before plug-in launch, the item will be added automatically.
button to add new item. If you have already selected the text before plug-in launch, the item will be added automatically.
Step 3.
In the General tab set ToolTip Engine script JS file name if necessary.
NOTE: Default path for JS file will be /cssmenutools/scripts/mttt.js
CSS file will be saved into the same folder.
At this time don't make any changes here.
Step 4.
You can use default ToolTips style or press ![]() button in the Tool Bar to open CSSMenuTools Preset Viewer to create a template based ToolTips.
button in the Tool Bar to open CSSMenuTools Preset Viewer to create a template based ToolTips.
Select the desired preset. You can change this design or apply a different preset to your ToolTips later if necessary.
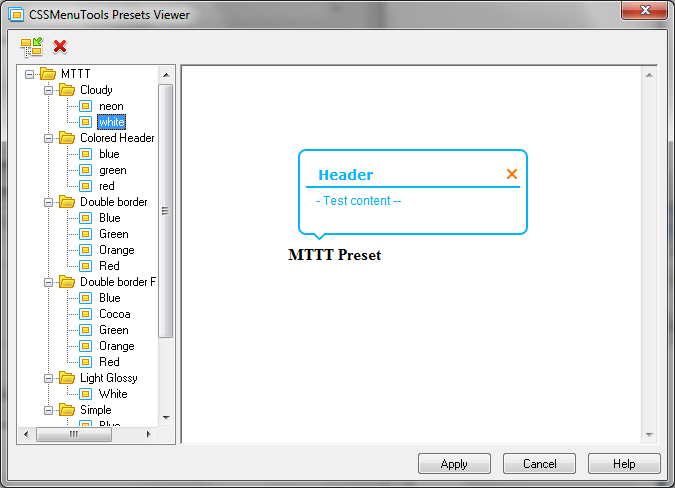
Press Apply button.
The following message will appear.
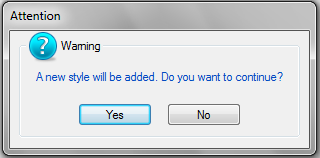
Press Yes button.
New style is created now.
The new style will be added. This style is not applied to the tooltips automatically when created. The style added to the list of available styles that can be assigned to any tooltip in the document.
When the program run at first time the default style will be created. Default style name is MTTT1.
The style name can be changed in any time. Try to assign the style name that describes the style's appearance.
However, be carefull if this style is used in several documents. The application manages the style names in the current document only. In other documents the tooltips that used old name will not work.
Well, we created the new style. Message with the style name will appear.
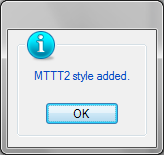
Now we can rename it. Swicth to the Style Editor tab. Select "MTTT2" in the Style combobox. Press the Edit Style title button ![]() . Edit Style Title window will appear.
. Edit Style Title window will appear.
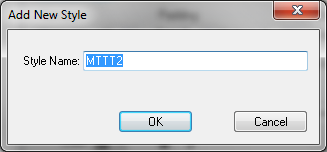
Change the style name to "WhiteStyle". Press OK button.
Switch to the Item tab.
Select "WhiteStyle" string in the Style combobox. You can see in the preview window how tooltip window appears now.
Mark the Default checkbox near the Style combobox to assign the style as default style. Now all newly-created tooltips will have this style.
Now we can delete unnecessary style MTTT1. This can be done using the Style Editor.
Switch to the Style Editor tab. Select "MTTT1" item in the Style dropdown list on the ToolTip Styles group. Press the Delete Style ![]() button and then press Yes button in appeared message box.
button and then press Yes button in appeared message box.
Note. Any style can be deleted . But rest assured that this style is not applied in other documents.
The application controls the use of styles in the current document only. If you delete a style that is used in another document, the tooltips in this document will not work.
Step 5.
Now possible to assign the contents of the tooltip, select the animation effects and events used to the tooltip appear and disappear .
On the Item tab, set the parameters as following :
Select "Top" in the Position dropdown list.
Select "On Mouseover" in the Open On dropdown list.
Select "On Mouseout" in the Close On dropdown list.
Select "Zoom in the Effect dropdown list.
We establish these settings as default settings by checking the box next to Default each parameter.
Now all newly-created tooltips will have the same default settings.
Step 6.
Your can check the results in the Live Preview window.
Press Save & Close button.
Images used in presets are located outside the site folder. So Images Location warning message will appear.
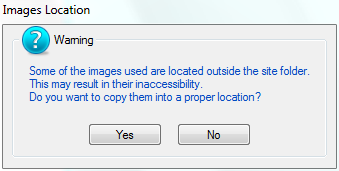
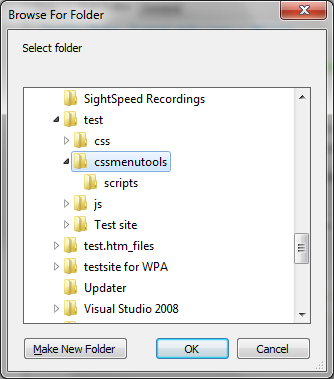
Press Yes button then select/create folder within the site and press OK button.
You will see the item in the Code window of Expression Web and a WYSIWYG view of the item in the Design view.
Congratulations! Our first tooltip successfully created.
Note: Tooltip contents can be modified in the Content field located at Item tab using or directly inside Expression Web. Modify html code inside <span class="MTTT...._text"> tag to change contents of the corresponding tooltip.
How to add one more ToolTip on this page.
Select the contents for which you want to create a tooltip. Run the program. You will see in the program window a new tootip with "plus" marked icon and contain a target value you have selected in the document. All other parameters of the tooltip have a default values.
Fill the tooltip contents.
Press the Save&Close button.
Repeat above steps as many times as necessary to create tooltips in the document.
How to add ToolTips to other document (page within this site).
Open the necessary document.
Select the contents for which you want to create a tooltip. Run the program.
Fill the tooltip contents.
Press the Save&Close button.
After that you can add the next ToolTips on page.
Repeat for all pages on your website where the ToolTips will be inserted.
If you need tooltips of several styles, you should to create new style in the Style Editor or choose from supplied with the application. The style will be added to the list of available and it can be used as style fo tooltips.

